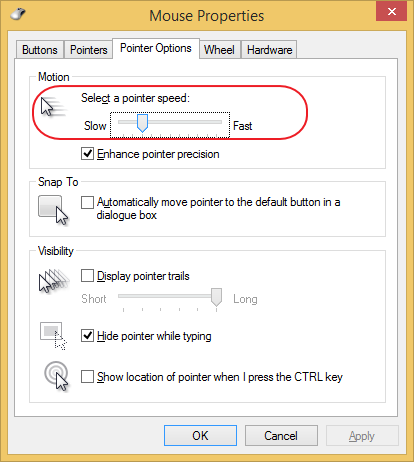
Mouse cursor speed and other mouse settings configured in Control Panel are per user. This means that each user can have the mouse configured to their own liking. This is all well and good, only problem is that none of the adjustments will make any difference while your PC is still at the logon screen (before any user has logged on). If you have a very high DPI mouse it could make it difficult to select user account or password fields using the mouse cursor.
To change mouse settings for the logon screen you have to make required changes inside the Default user account. Since there is no way to login into this account directly, we’ll have to perform this via registry. Usual warnings apply – play with registry at your own risk and always make a backup before making any changes.
- Configure mouse as you want it to work while logged-on to your own user account.
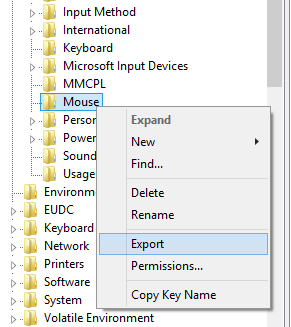
- Open registry (regedit.exe) and navigate to HKEY_CURRENT_USER\Control Panel\Mouse
Right click on Mouse key and select Export. Save the file on your Desktop.
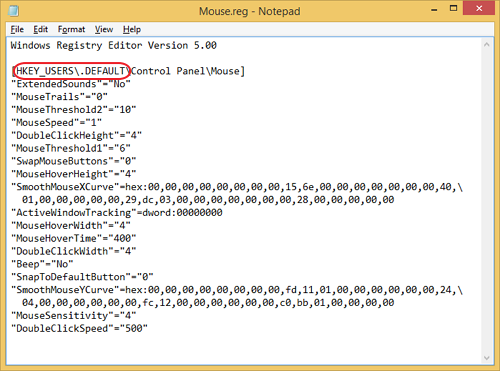
- Open the exported file using notepad.exe and replace HKEY_CURRENT_USER text with HKEY_USERS\.DEFAULT
Leave everything else intact.
The modified line should now read: [HKEY_USERS\.DEFAULT\Control Panel\Mouse]
Save changes.
- Go back to regedit.exe and Navigate to HKEY_USERS\.DEFAULT\Control Panel\Mouse
Right click on Mouse key and select Delete - Now double click on the exported registry file you modified in step 3 and confirm writing to registry warnings.
Deleted Mouse entry in HKEY_USERS\.DEFAULT\Control Panel\ should now reappear. It will have your exported mouse configuration applied to the Default user account. - Log-out and make sure mouse works as expected on the logon screen.
Windows 7
Windows 8

Leave a Reply