VMware ESXi 5.0 is now called VMware vSphere Hypervisor, but as before is free to download and use.
Upgrading from VMware ESXi 4.0 to VMware ESXi 5.0 is pretty easy and straight forward:
- As always, before you proceed with an upgrade, make sure you have up to date backups
- Go to www.vmware.com login to your WMvare account (if you don’t have an account, registration is free) and download free VMware vSphere Hypervisor (CD ISO). Make sure you save provided license key.
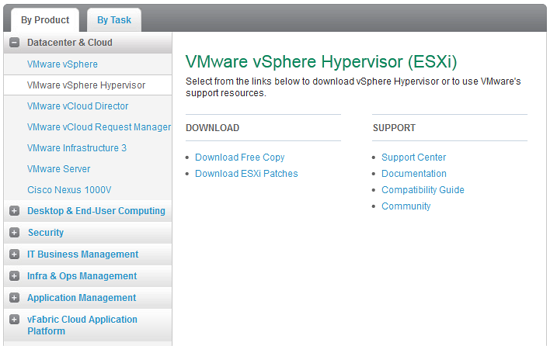
- Burn downloaded installation ISO file to a CD
- Shut down all virtual machines and shut down Wmvare host
- Boot from installation CD
- Wait for setup to load all files. This may take a little while
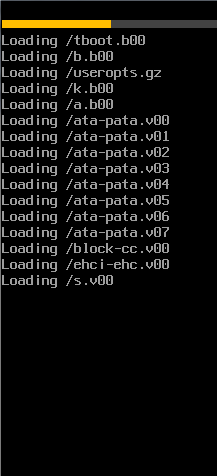
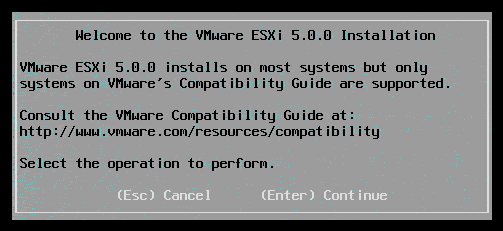
- Press ENTER to begin setup
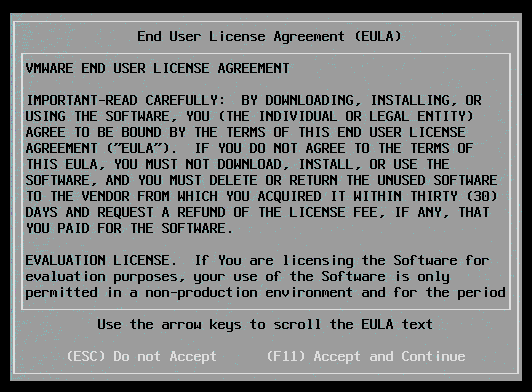
- PRESS F11 to accept license agreement
- Select partition where VMware ESXi 4.0 is installed and press ENTER to continue
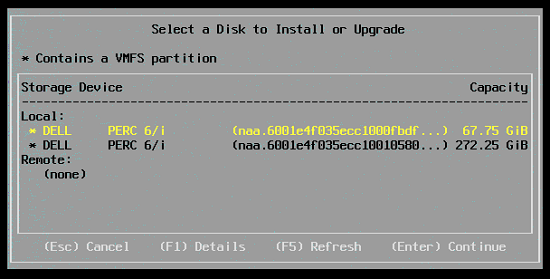
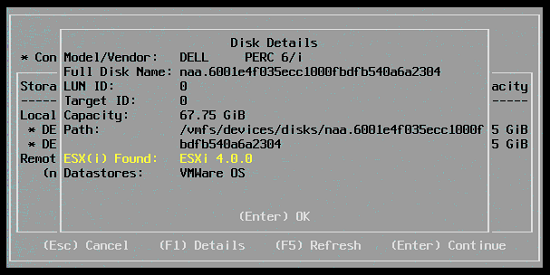
- If in previous step you are unsure where VMware ESXi 4.0 is installed press F1 to display more details.
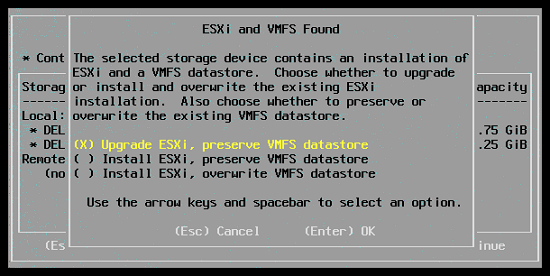
- Select first option (Upgrade ESXi, preserve VMFS datastore) and press ENTER to continue
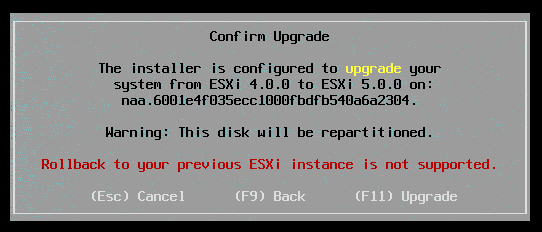
- Review confirmation message and press F11 to begin the upgrade
- Upgrade normally takes about 10 minutes.

- Once finished press ENTER to reboot
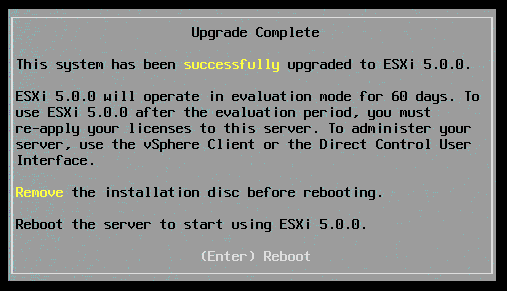
- Server will reboot and load the upgraded VMware ESXi 5.0 version
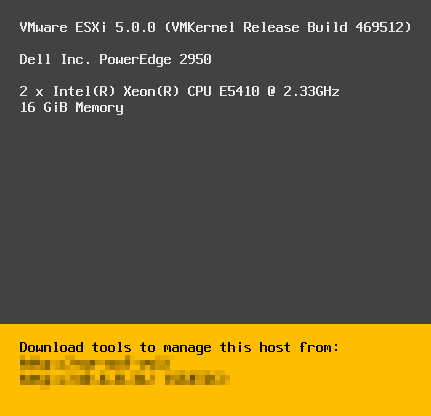
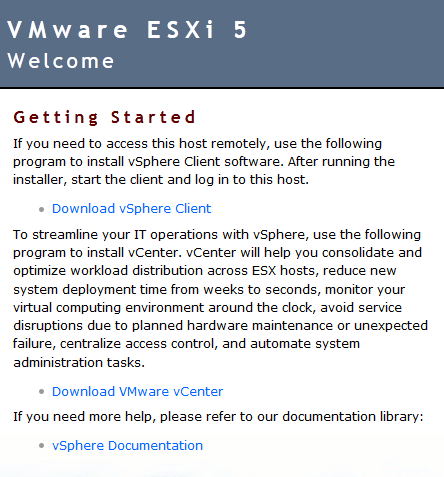
- Browser to server’s IP address and download vSphere Client v5 (old v4 client will not work anymore)
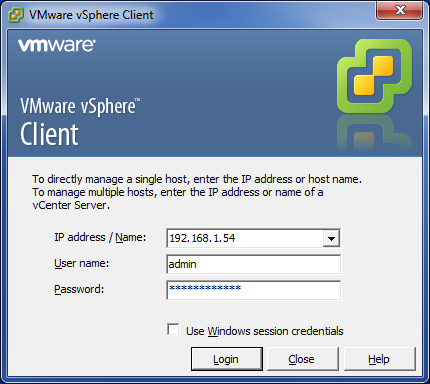
- Install vSphere Client v5 and connect to your host
- You will be reminded that within 60 days you must update your license key

- Start your virtual machines

Leave a Reply